This exploration is for all ages, as the colored smilies show. You can do painted collage art with your whole family together (I loved this one as much as my 6-year-old did!).


This painted collage art project is a great companion to Unit 2-1, all about Byzantine art. Byzantine artists applied gold leafing in an early collage-style, small pieces at a time. Layers of Learning has hands-on art projects in every unit of this family-friendly curriculum. Learn more about Layers of Learning.
The word “
Step 1: Library Research
Before you begin the art project, read a book or two with collages. Here are some suggestions, but if you can’t find these, look for books at your library about collage art. The colored smilies above each book tell you what age level they’re recommended for.
As Amazon affiliates, the recommended books and products below kick back a tiny percentage of your purchase to us. It doesn’t affect your cost and it helps us run our website. We thank you!

The Very Hungry Caterpillar
by Eric Carle

Collage Workshop For Kids
by Shannon Merenstein
Step 2: Painted Collage Art Exploration
For this project, you’ll need bright paints, thick art paper, paintbrushes in lots of shapes and sizes, some scissors, and some rubber cement (school glue will work too, but we really liked the no-wrinkle rubber cement).
Painting
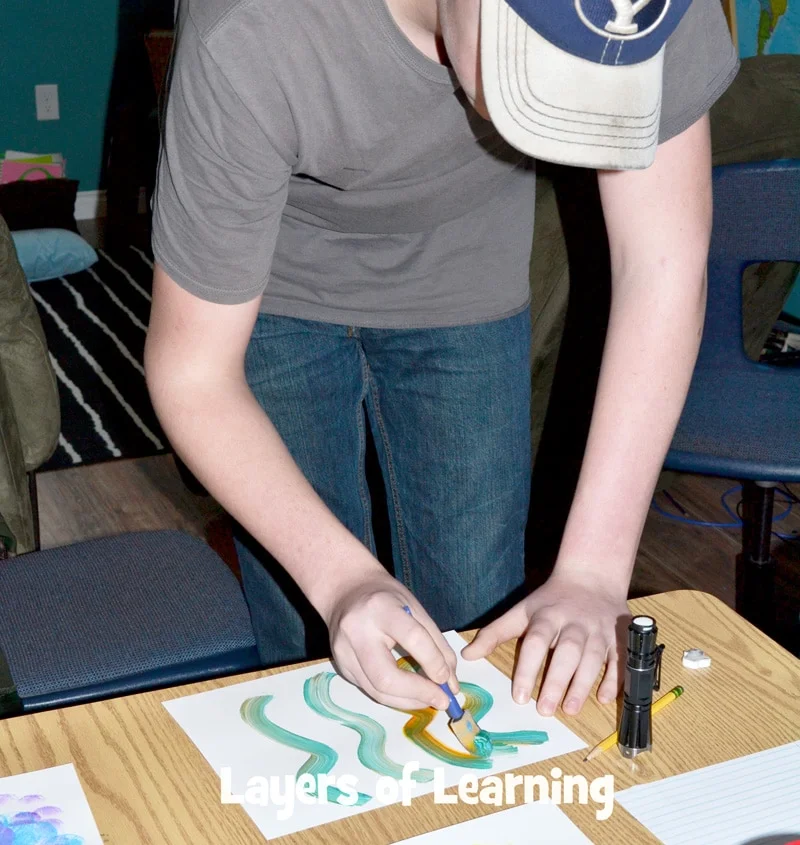
Paint lots of papers in a variety of interesting ways – swirls, zigzags, dots, blurs, and layered colors.
Make more papers than you think you will need to create your pictures later. We all shared our painted pages, so we just collectively made a big variety of colors and patterns. Use solid colors as well as mixtures of colors on a single design. Use sponge brushes as well as normal paintbrushes in a variety of shapes and sizes. As you paint, make sure to vary your lines, shapes, and textures to create interesting patterns.
Let your painted papers dry thoroughly.
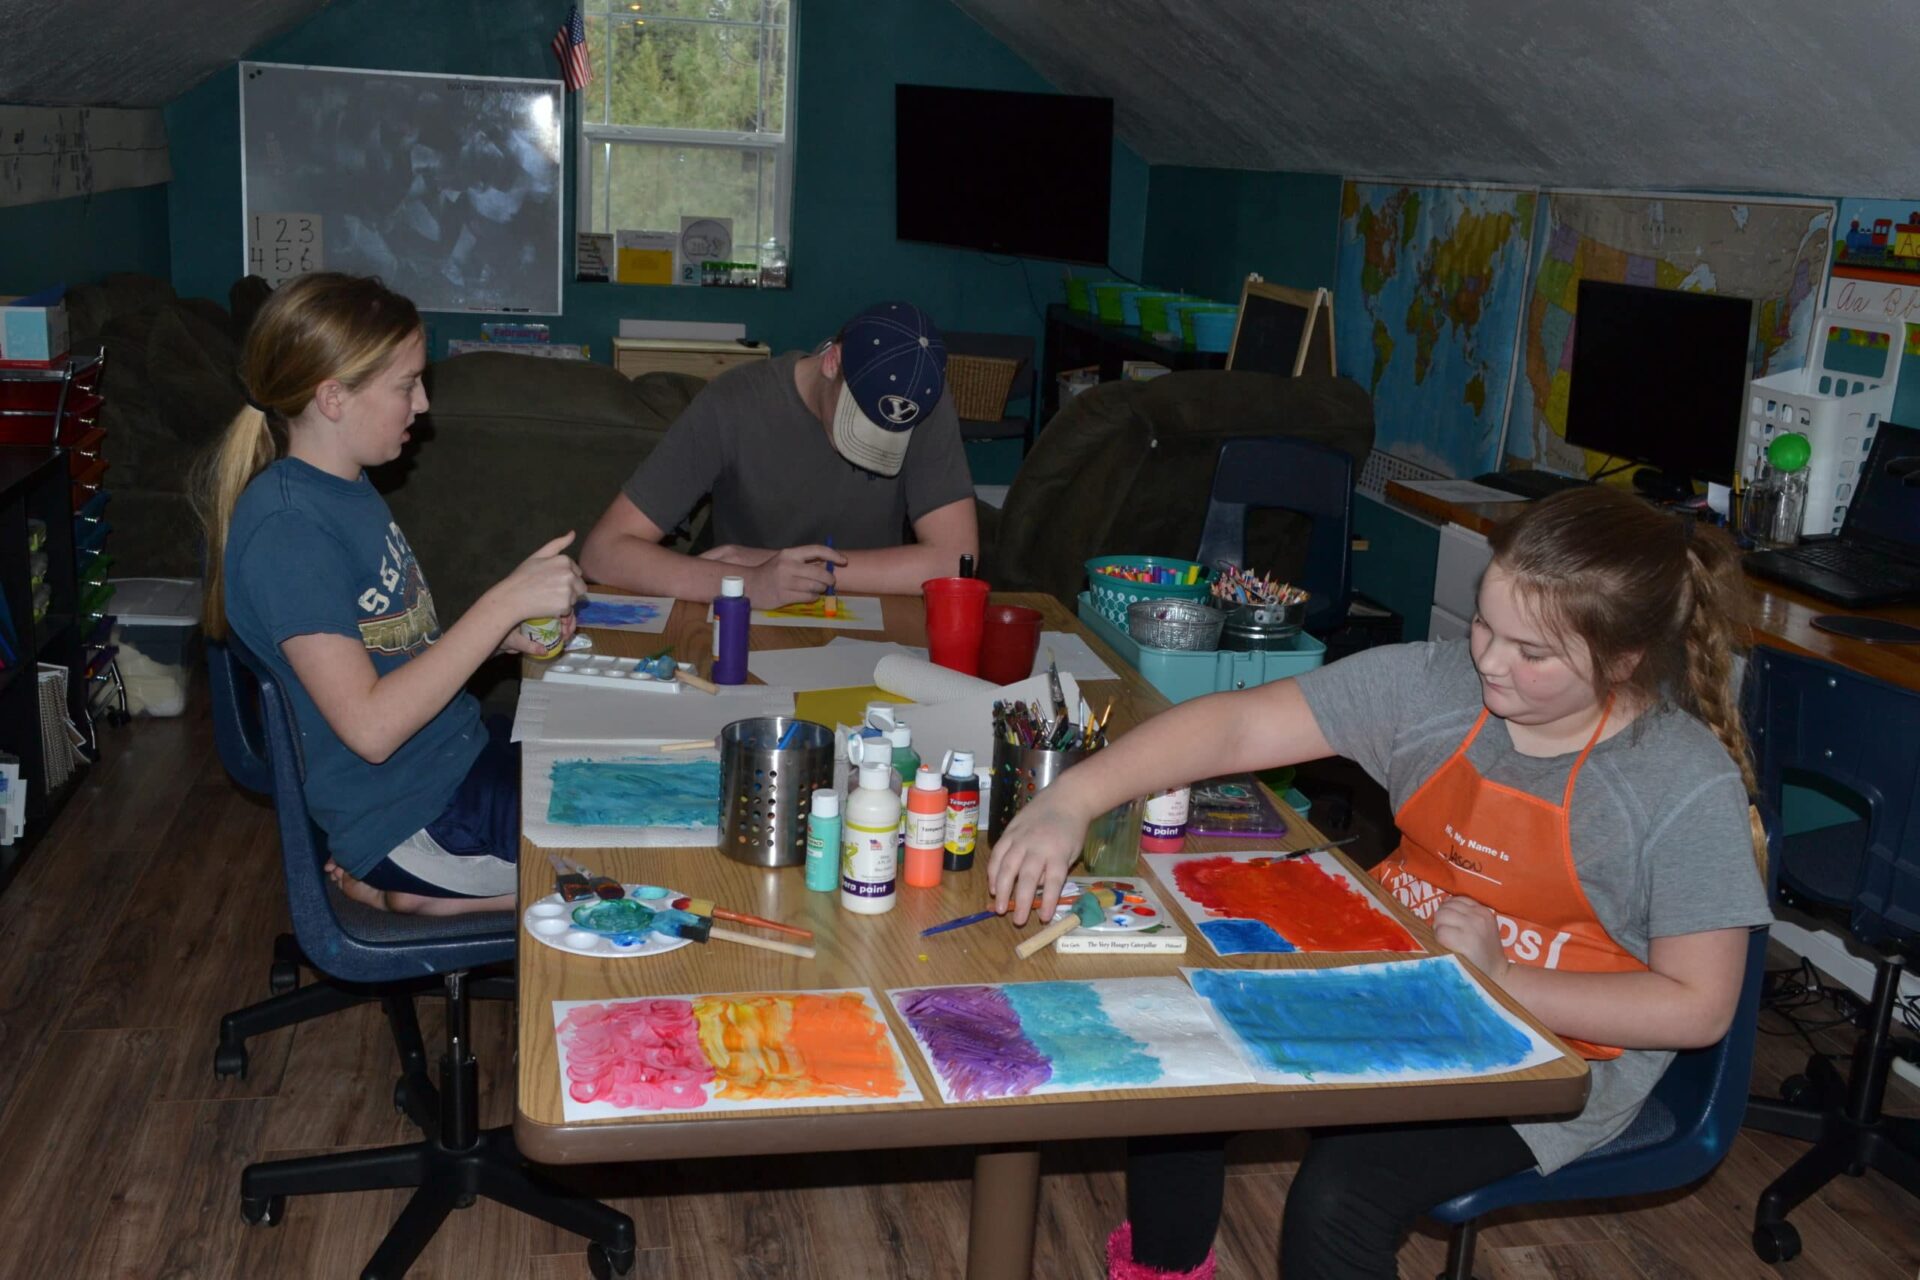
Cutting
Once dry, freehand cut the painted papers to create interesting shapes for your pictures. Don’t worry too much about perfect shapes or sizes. That’s what give collage pictures their charm.
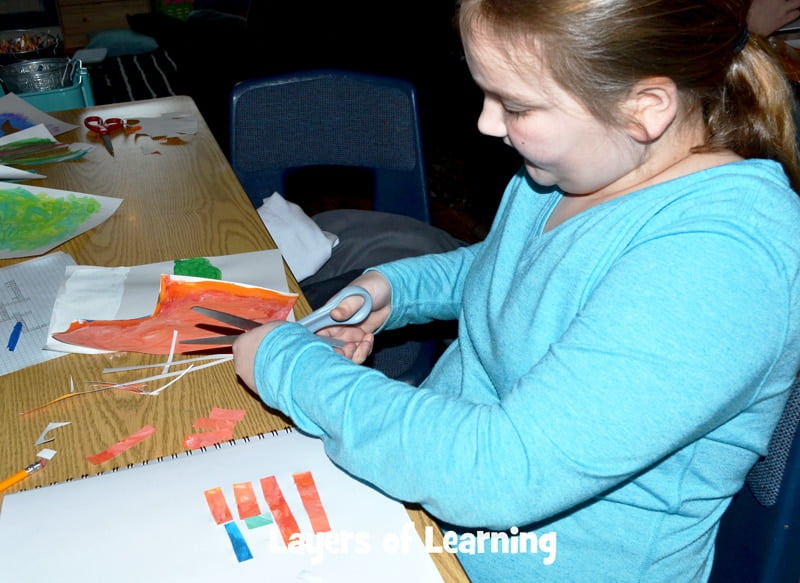
Pasting
Glue the design down to art paper. We used our art sketchbooks. Some of the pictures had the solid white backgrounds of our sketchbooks, but we also hand cut and pieced some of the backgrounds too. This water scene was made with lots of different colored stripes that were cut from various painted pages and then pieced together.
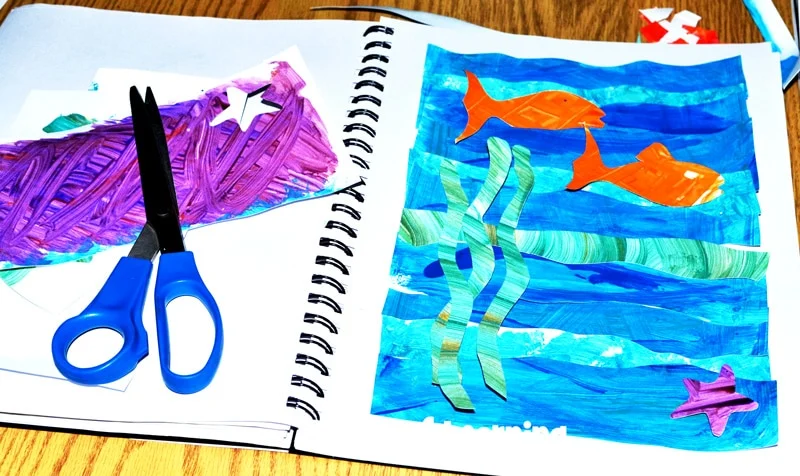
The imperfections and variety are what make collage art truly unique and special.
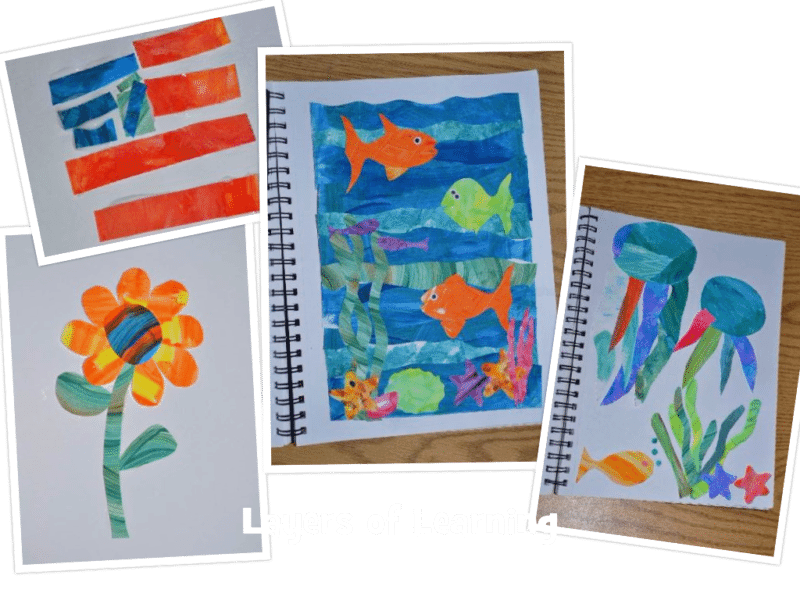
Step 3: Show What You Know
Make another
Additional Layers
Additional Layers are extra activities you can do or tangents you can take off on. You will find them in the sidebars of each Layers of Learning unit. They are optional, so just choose what interests you.
Writer’s Notebook

Create a word cloud, which is like a collage of words. You can use a word cloud generator online or artistically create one in your sketchbook. Think of a theme and then add words that center around the theme.
Famous Folks
The collage style we typically think of really began with Georges Braque and Pablo Picasso. The two began cutting out wallpapers, cloth, and paper and adhering it to their paintings. It wasn’t long before artists were cutting their own paintings apart and piecing them back together in new ways too.
Watch this short video about Picasso’s collage exhibit in Philadelphia’s Museum of Art.
Expedition
Go visit Eric Carle’s official website. You can see his storybooks, find out about his life, and watch how he creates his art. He uses tissue paper and waters down his paint, so the process is actually a bit different than ours. It would be fun to try it both ways.
Get a Free Unit
Choose between the first unit in each Layers of Learning subject to try for free when you sign up for the newsletter.
We never spam and you can cancel your subscription at any time.


