This exploration is for all ages, as the colored smilies show. You can do the medieval book-making craft with your whole family together!


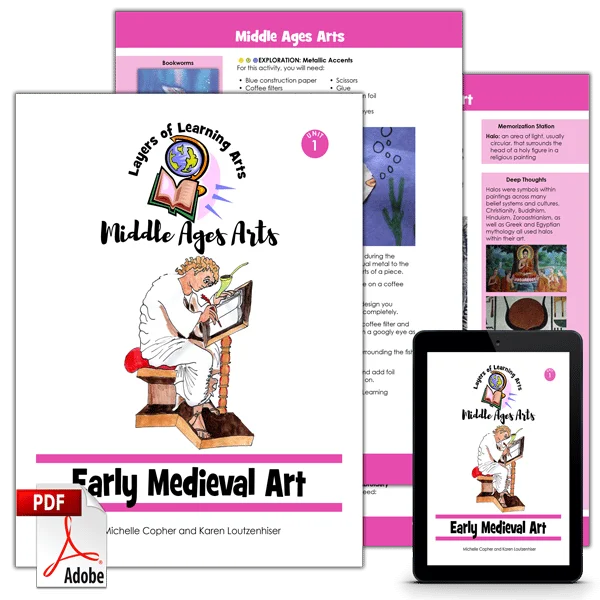
The medieval book craft is an art exploration from Early Medieval Art. Layers of Learning has hands-on experiments in every unit of this family-friendly curriculum. Learn more about Layers of Learning.
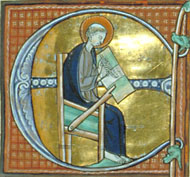
Thousands upon thousands of books were produced during the Middle Ages in Europe. The pages were usually made of vellum, a treated animal skin that was durable. France and Italy were major producers of books and had workshops of scribes who copied the pages by hand. Expensive books could be illuminated, given colorful decorations like fancy capital letters and illustrations or borders.
Step 1: Library Research
Before you begin exploring, read a book or two about medieval manuscripts. Here are some suggestions, but if you can’t find these, look for books at your library about medieval manuscripts, illuminated books, the Middle Ages, or medieval Europe. The colored smilies above each book tell you what age level they’re recommended for.
As Amazon affiliates, the recommended books and products below kick back a tiny percentage of your purchase to us. It doesn’t affect your cost and it helps us run our website. We thank you!
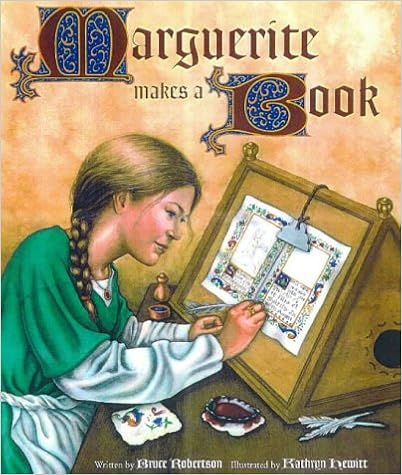
Marguerite Makes A Book
by Bruce Robertson
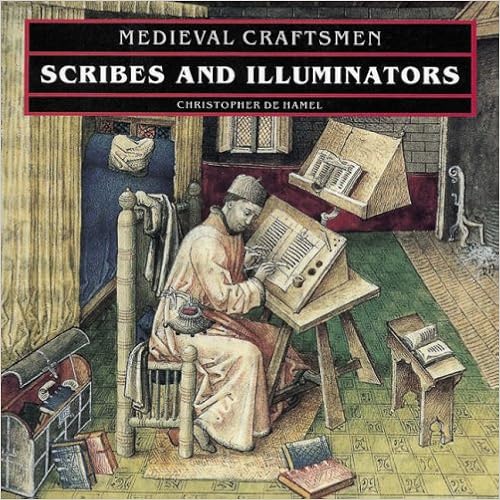
Medieval Craftsmen: Scribes and Illuminators
by Christopher de Hamel
Making Medieval Manuscripts
by Christopher de Hamel

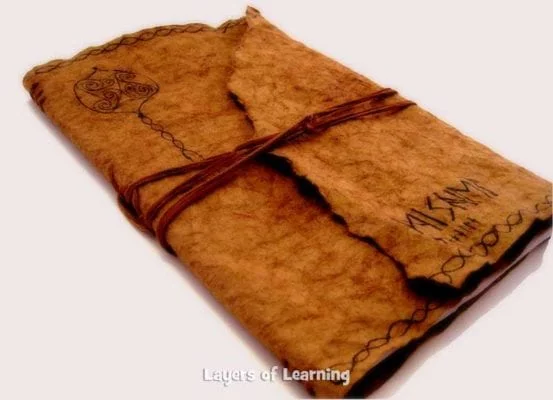
Step 2: Make a Medieval Book
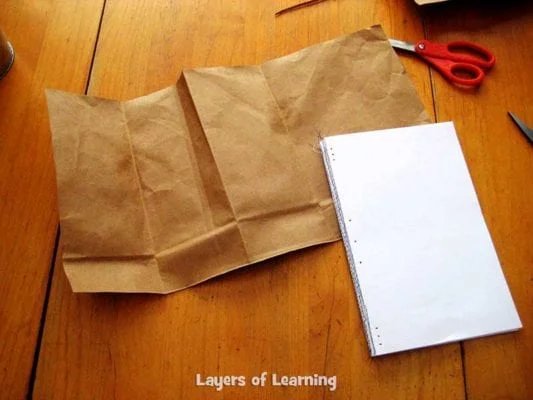
You will need printer paper, a sewing machine and thread (or needle and thread), brown kraft paper (or a paper grocery sack), a black permanent marker, a nail and a hammer, a brown crayon, brown embroidery floss, and an embroidery needle


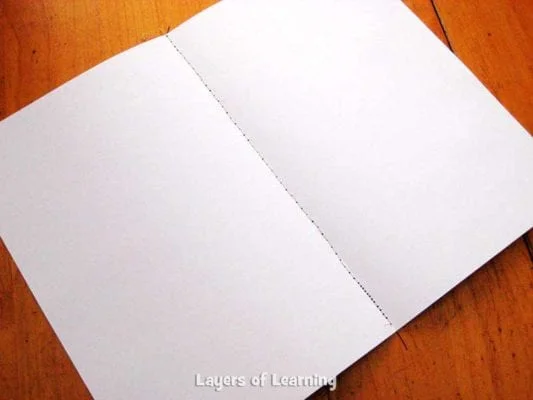
Start with the inside pages, plain old white printer paper 8 1/2″ x 11″. You could use fancier scrapbook paper with a more old world style theme as well. Fold four sheets in half and sew right up the fold.
Use a sewing machine or use a needle and thread. If you use a needle and thread, pre-punch holes with a nail and hammer (as shown below for the book binding step). Paper is too thick to sew through normally.
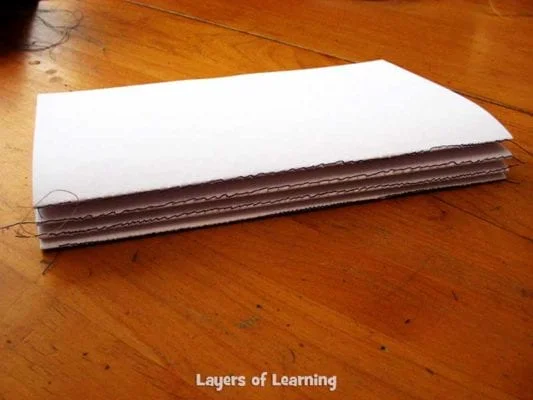
Repeat sewing four sheets of paper together three more time, so you have four sets of four sheets.
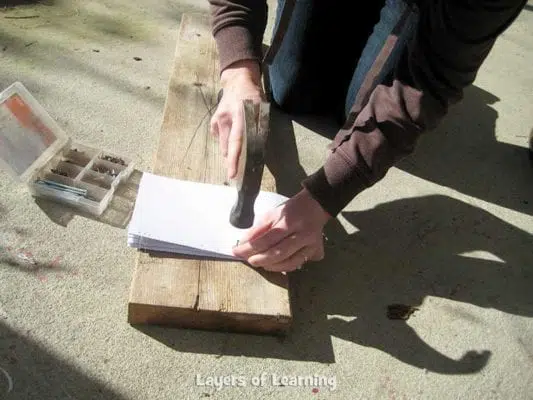
Now with all four sets of pages held together, use a nail and hammer on a board outside to make holes through all the sheets of paper. Later you’ll be using the pre-punched holes to sew the cover and the sheets together. Think about how you want the pattern of stitches to appear on the spine and place your holes accordingly.
Next, cut out your cover from brown paper. A grocery sack works well. Make the cover just a little wider than the pages are tall and long enough to wrap around the whole book about one and a half times. You’ll need enough left over to have an extra flap on the front. The process of crinkling and getting the paper wet shrinks it a bit. Give your self a little extra room in case it shrinks.
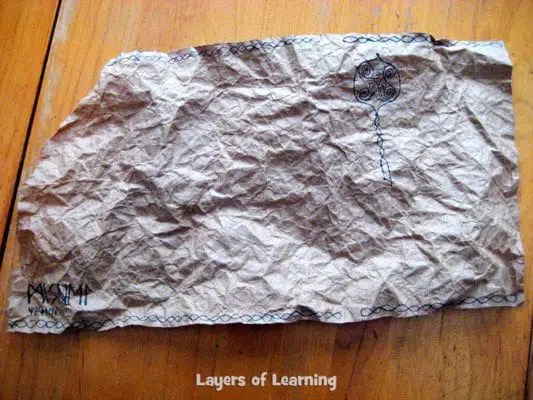
Now decide where your spine will be on the cover, and then draw a design. Use black permanent ink. Make your lines nice and thick so it gets the look of a burned in design.
After the design is done, crinkle the cover over and over. This makes it look worn and softens the paper.
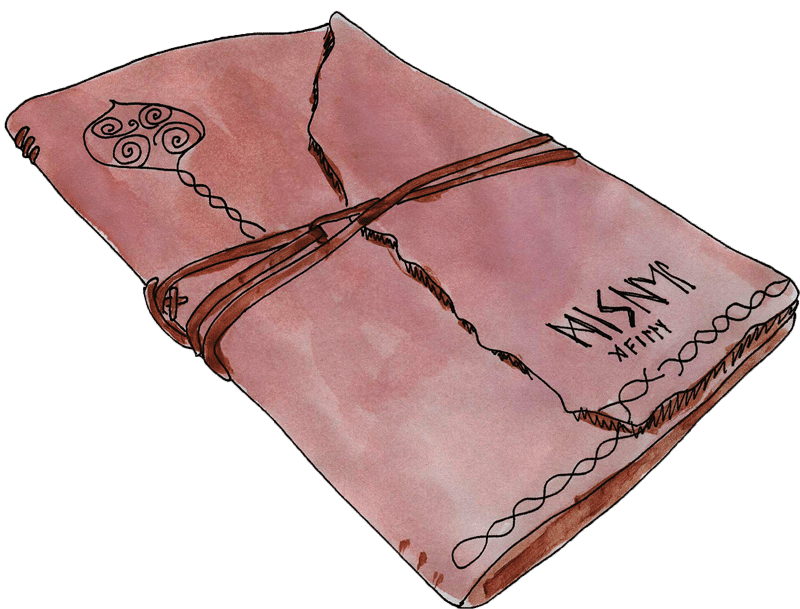
Here is how the cover will lie over the pages after you’re finished.

Next, use the side of a brown crayon and color all over the paper, making some areas darker brown than others. Finally, get the paper wet and then dry it in the oven at 300 degrees F (150 deg C) for just a few minutes. Besides drying the paper, the heat helps the crayon wax melt into the paper so it looks more like leather.

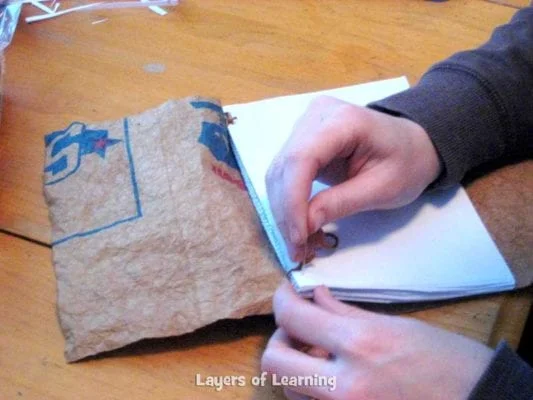
Now that the cover is ready, sew the pages into it using brown embroidery floss and a needle. Embroidery floss comes six strands thick. Leave all six strands together because you want nice thick thread to hold the book together.
Here’s how the spine may look when you are done, depending on how you planned the holes for stiching.
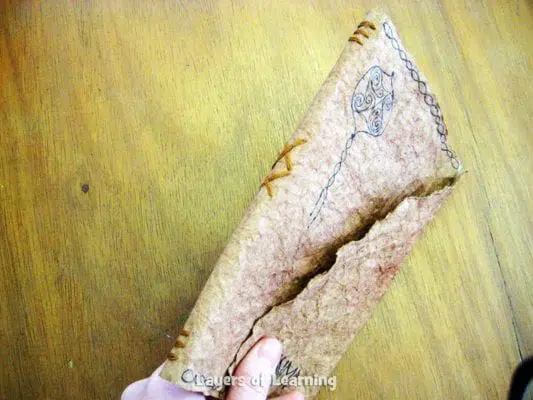
The final step is to take more embroidery thread and make a tie to close the book. Make the tie thick by tripling your embroidery floss. Tie a loop in one end, pass the thread around the book, though the loop and then around and around the book.
Step 3: Show What You Know
Use this book all through the units about medieval Europe to write and draw pictures about all the things you learn about the middle ages in Europe, including how books were made.
Additional Layers
Additional Layers are extra activities you can do or tangents you can take off on. You will find them in the sidebars of each Layers of Learning unit. They are optional, so just choose what interests you.
On the Web
Layers of Learning units have links to the web from each product page. Explore the tabs for Unit 2-8 to see them.
Here is a website that explains medieval book making with links to videos about each step.
Additional Layer
What sorts of books did European people own in the middle ages?

They owned the Bible or excerpts of it like the Gospels or the Psalms. Many owned classics from the Greeks and Romans. Some owned poetry like Beowulf or King Arthur romances. People also owned something called a “Book of Days” that had scripture verses, calendars, almanac information, all the saints days, and lots of illuminations. And some people also owned grimoirs or grammerie, where they wrote down spells, good luck charms, and ingredients for potions.
Expedition
View medieval manuscripts or illuminated books in person.
The British museum in London is a great place to see illuminated manuscripts. And you can view part of the manuscript collection from anywhere with their virtual museum.
The Book of Kells, perhaps the most famous illuminated book in the world can be viewed in Dublin at the Trinity College Library.
There are also medieval manuscript collections on display at museums around the world, like the one at the Getty Museum in California.
Get a Free Unit
Choose between the first unit in each Layers of Learning subject to try for free when you sign up for the newsletter.
We never spam and you can cancel your subscription at any time.
