This exploration is for all ages, as the colored smilies show. You can discover rocks with your whole family together!


This experiment about rocks is from Earth & Space: Rocks. Layers of Learning has hands-on experiments in every unit of this family-friendly curriculum. Learn more about Layers of Learning.
We started by reading quite a few geology books from our personal library and our library in town. We learned about the layers of the earth and the basic make-up of the planet. We studied volcanoes and the ring of fire. We also grew crystals and learned about how those form and what they have to do with rocks. And of course, we read about the three rock families – sedimentary, metamorphic, and igneous.
Step 1: Library Research
Before you begin exploring, read a book or two about rocks. Here are some suggestions, but if you can’t find these, look for books at your library about rocks, geology, or rock identification. The colored smilies above each book tell you what age level they’re recommended for.
As Amazon affiliates, the recommended books and products below kick back a tiny percentage of your purchase to us. It doesn’t affect your cost and it helps us run our website. We thank you!

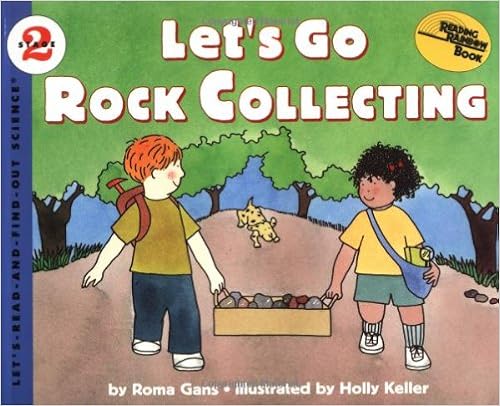
Let’s Go Rock Collecting
by Roma Gans
Step 2: Rock Identification Experiment
To practice rock identification you will need rocks you have collected, a sample set of rocks, magnifying glasses or hand lenses, a rock cycle printable, butcher paper, markers, vinegar
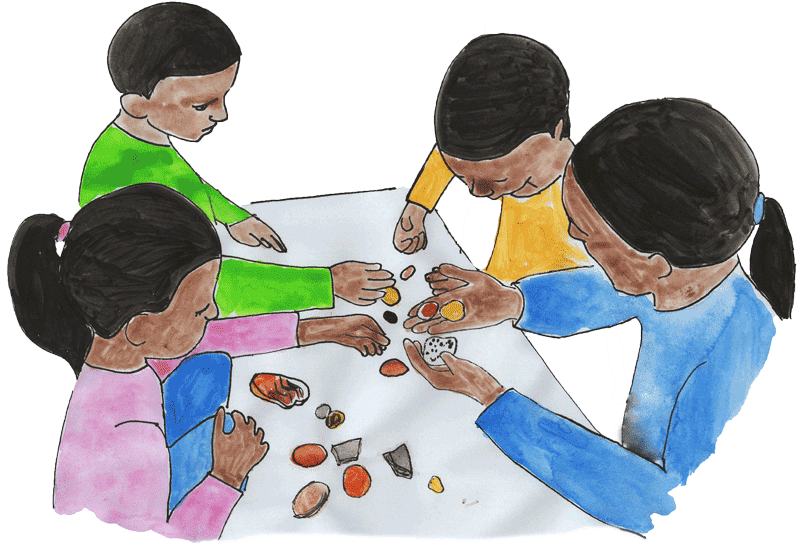
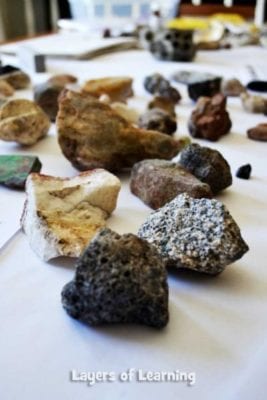
Cover a table with butcher paper to protect the surface. Then spread a bunch of rocks that you have collected from various places out on the table and provide the kids with hand lenses or magnifying glasses to observe the rocks. Spend time just finding crystals, checking out the cleavage of various rocks (how they break), and pointing out any interesting characteristics you notice.
Then sort your rocks into rock families (igneous, sedimentary, or metamorphic) based on your reading.
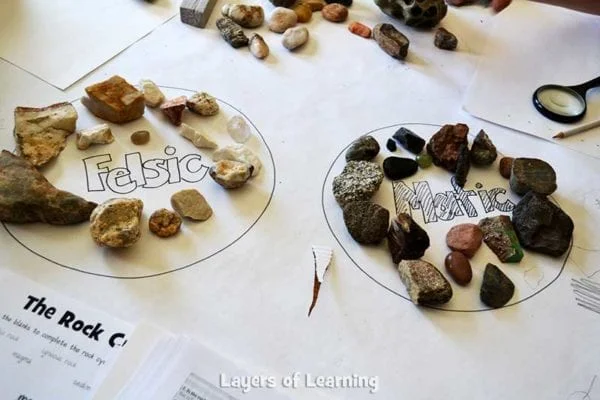
Mafic and Felsic
Teach another simple concept you may not come across in your books: mafic versus felsic. Mafic rocks are primarily dark colored while felsic are primarily light. Draw two circles on the butcher paper table covering and had them sort yet another way. I had to correct a few of their placements, but overall they did well. They put a few on the mafic side that had dark inclusions in otherwise light-colored rocks. Those actually classify as felsic. Can you spot their mistakes?
Rock Cycle
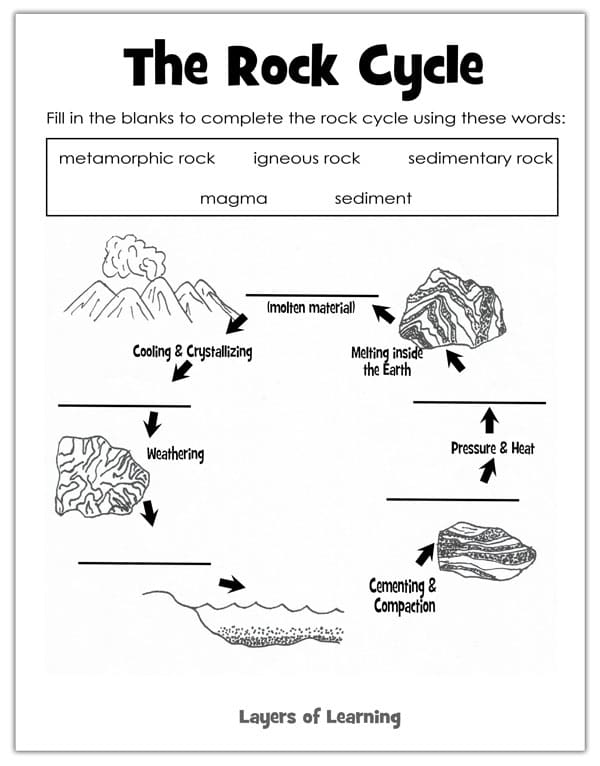
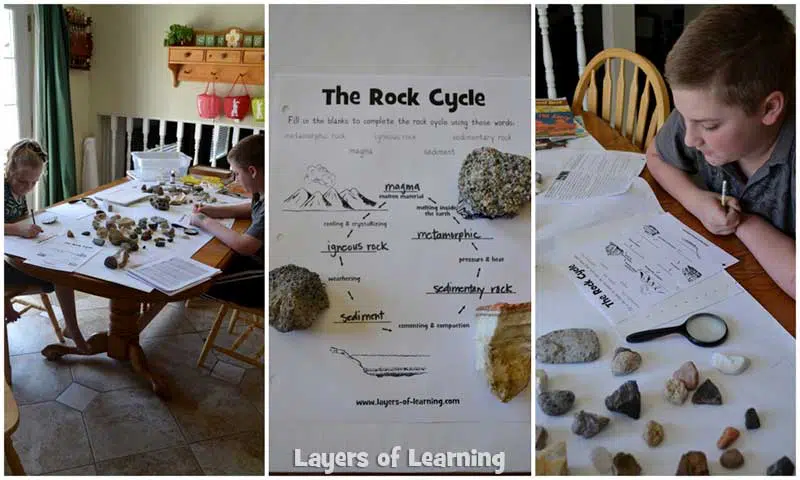
Next, fill out the Rock Cycle Printable. Point out that in nature rocks don’t always follow this cycle in a perfect order.
Identifying Rocks
Next pull out the rock and mineral set you purchased and give your kids some rock and mineral identification tables. You can add additional rocks to the kit you purchase if you already are sure you know what kinds of rocks you have.
Have the kids identify the rocks with:
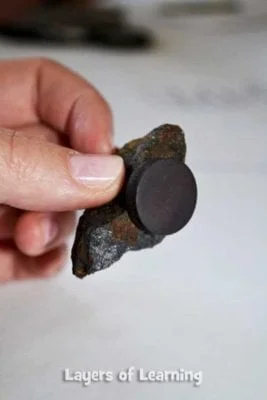
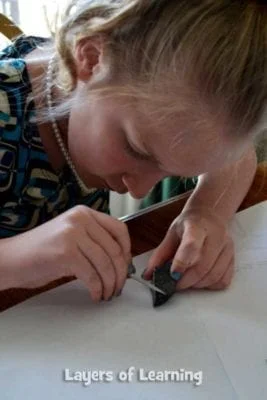
- Scratch tests with a nail, penny, fingernail and possibly other objects from the chart below using the Mohs hardness scale. The idea is to see if the rock can be scratched by the object. If it cannot then your rock is harder, higher on the scale, than the nail or other object.

- Streak tests – scrape the rock across a ceramic tile to see what color it leaves behind.
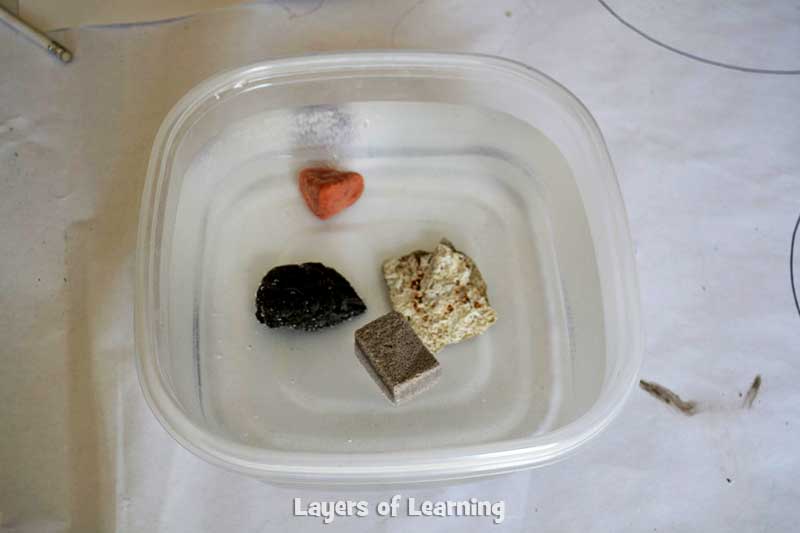
- Flotation in a basin of water – does it float or not?
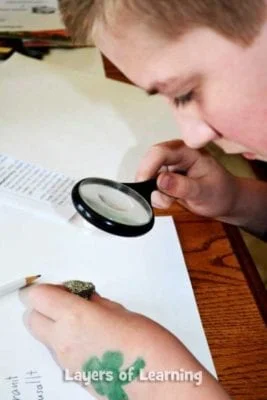
- Crystals using magnifying glasses – can you see distinct crystals? What color and shape are they?
- The rocks’ cleavage to see how each breaks.
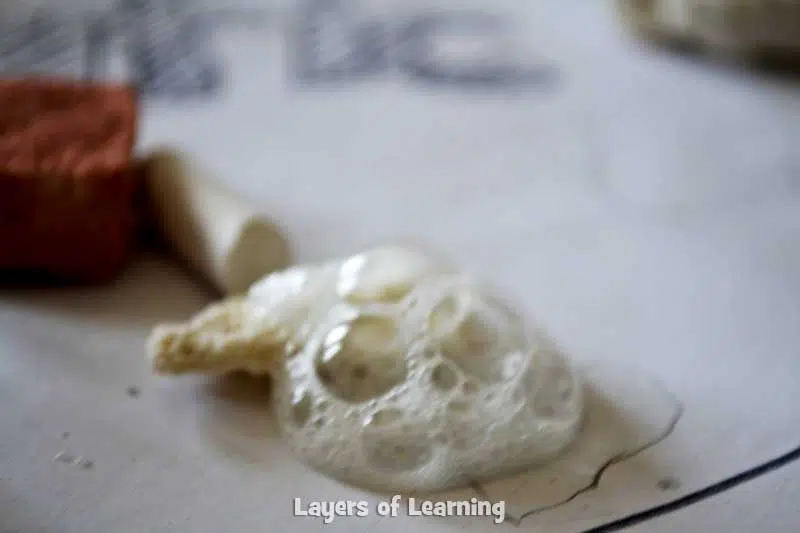
- Acid test by dropping a tiny bit of vinegar on the rock and observing with a hand lens whether it bubbles and fizzes.
Step 3: Show What You Know
Once each child has identified the rocks to best of his or her ability, have them share their findings with the group. Have the group talk it out if they have differences of opinion. Check one another’s methods and do repeat tests if you have discrepancies. Once you have consensus, draw pictures of each identified rock in your lab notebook and describe the properties of each.
Additional Layers
Additional Layers are extra activities you can do or tangents you can take off on. You will find them in the sidebars of each Layers of Learning unit. They are optional, so just choose what interests you.
Memorization Station

Memorize the three types of rock: igneous, sedimentary, and metamorphic and the definition of each.
Expedition

Go outside and find rocks. To find interesting rocks you will need to visit different locations with different types of geology.
Famous Folks

Friedrich Mohs was a German geologist who was put in charge of a large collection of rock specimens. He needed a way to organize the collection so he developed the Mohs hardness scale. Learn more about him.
Get a Free Unit
Choose between the first unit in each Layers of Learning subject to try for free when you sign up for the newsletter.
We never spam and you can cancel your subscription at any time.


